The Right Way to Break In New Shoes Without Getting Blisters
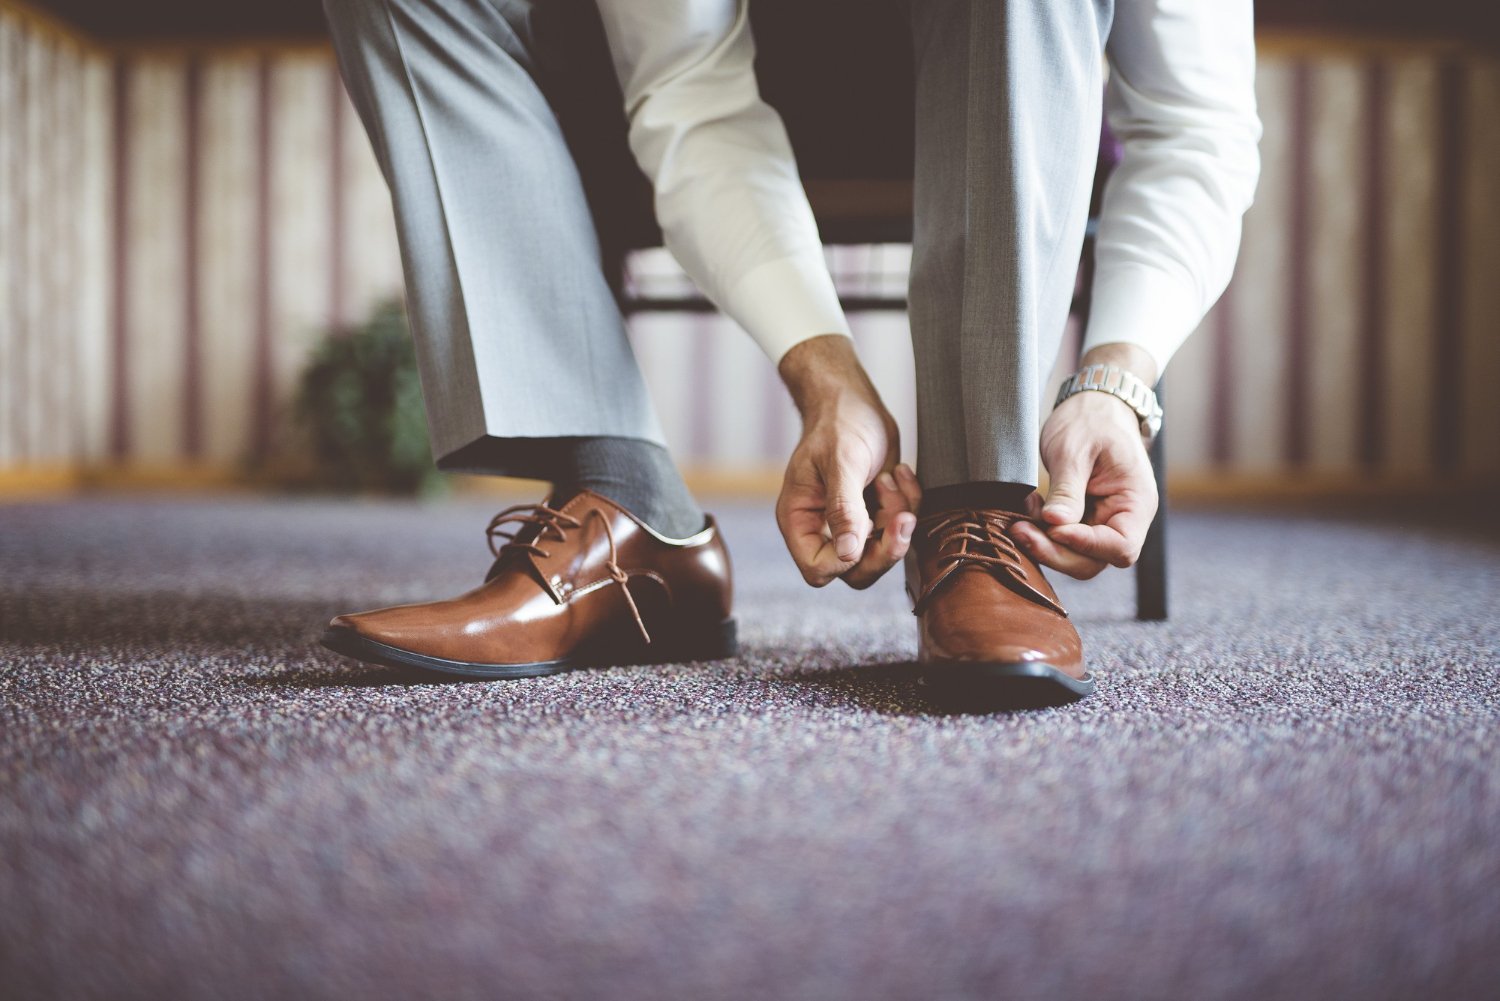
There’s a specific kind of optimism that comes with wearing brand-new shoes for the first time — followed, usually, by a specific kind of regret somewhere around hour three.
If you’ve ever limped home with raw heels and vowed never to wear a new pair straight out of the box again, you already know why learning to break in new shoes without getting blisters properly is worth every minute of effort.
The good news: breaking in shoes doesn’t have to be a painful rite of passage. Done right, it’s gradual, manageable, and your feet stay mostly intact throughout.
The short version:
- Wear new shoes around the house first — short sessions over several days before going outside.
- Use thick socks to gently stretch the material and cushion pressure points.
- Apply blister prevention balm or tape to known hot spots before every wear during the break-in period.
- Use a shoe stretcher or the hairdryer-and-thick-socks method for targeted tight spots.
- Gradually increase wear time over one to two weeks rather than forcing a full day at once.
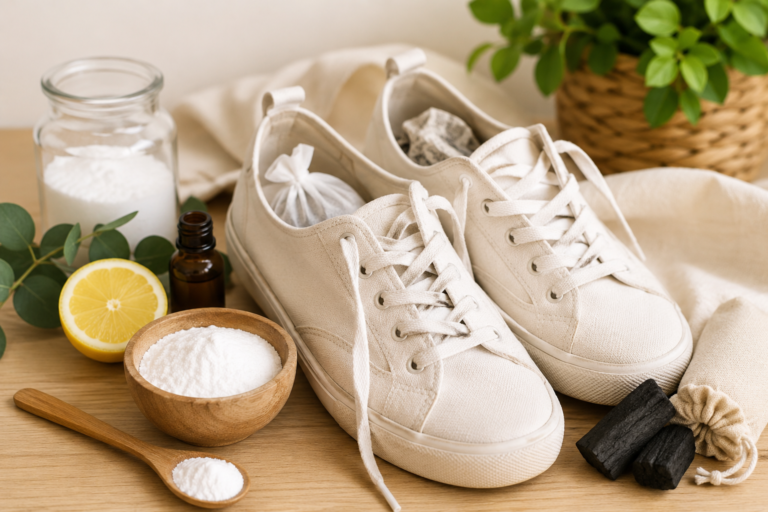
What You’ll Need
- Thick socks (wool or hiking socks work best)
- Blister prevention balm or stick (like Body Glide or a plain petroleum jelly)
- Blister plasters or moleskin padding
- A shoe stretcher (optional but helpful for tight fits)
- A hairdryer
- Leather conditioner (for leather shoes)
- Patience — genuinely, this is on the list
Step-by-Step Instructions
Step 1: Start Indoors With Short Sessions
Before your new shoes ever touch the pavement, wear them around the house for 20–30 minutes at a time. This sounds boring, but it’s the single most effective thing you can do.
Indoor surfaces are forgiving, you’re never far from taking them off, and the shoe begins to flex and mould to your foot without the added strain of distance or unpredictable terrain.
Do this for two or three days before your first outdoor wear. If the shoe feels truly unwearable even indoors — not just snug, but actively painful — it may be the wrong size, and no amount of breaking in will fix that.
Quick tip: Pay attention to where the shoe feels tight or rubby during indoor sessions. Those exact spots — usually the heel, the little toe, or the widest part of the foot — are where you’ll want to apply blister protection before every outdoor wear.

Step 2: Wear Thick Socks While You Ease Them In
A pair of thick wool or hiking socks worn during your indoor break-in sessions does two things at once: it cushions your foot against pressure points, and it very gently stretches the shoe’s material from the inside.
You don’t need to do anything dramatic — just wear the shoes with thicker-than-usual socks for your indoor sessions and the first few outdoor outings.
Leather responds to this particularly well. The material softens and begins to conform to the shape of your foot much more quickly than it would through regular wear alone.
Step 3: Apply Blister Protection Before Every Wear
This is not optional during the break-in period — it’s the step that stands between you and a raw heel. Apply a blister prevention balm or stick to any area where the shoe makes firm contact with your skin: the back of the heel, the sides of the little toe, and anywhere the shoe’s seams sit against bare skin.
Petroleum jelly works perfectly well if you don’t have a dedicated product. The friction that causes blisters doesn’t stop just because you’ve worn the shoes a few times — apply protection every single time until the shoe stops rubbing entirely.
Quick tip: Blister plasters applied before a blister forms are a hundred times more effective than applying them after. If you feel a hot spot developing mid-wear, stop and apply one immediately — don’t push through and hope it settles.
Step 4: Use the Hairdryer Method for Stubborn Tight Spots
If there’s a specific area that’s persistently tight — a heel that digs in, a toe box that pinches — the hairdryer method is genuinely brilliant. Put on a pair of thick socks, then put on the shoes.
Aim a hairdryer on a medium heat setting at the tight area for 20–30 seconds, keeping it moving rather than focused on one spot.
Then flex and move your foot while the material is warm — walk around, bend your toes, rotate your ankle. The heat temporarily softens the material, and the movement shapes it to your foot while it cools.
Repeat if needed. Works beautifully on leather; use cautiously on synthetic materials.
Read also: How to Remove Salt Stains From Boots in Winter
Step 5: Build Up Wear Time Gradually Over One to Two Weeks
The temptation with a pair of shoes you love is to wear them all day immediately. Resist it. Even when they’re feeling more comfortable, the break-in process isn’t complete until the shoe has experienced a full range of your movement and your foot has adjusted to its specific fit.
Start with 30-minute outdoor sessions, then an hour, then a few hours, building up over the course of a week or two. The first full-day wear should feel like a natural next step, not a leap of faith.
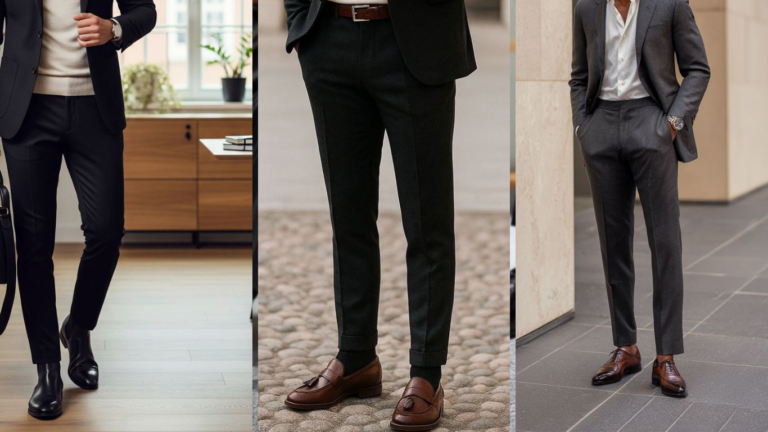
I once wore a brand-new pair of leather loafers to a full day of meetings and a dinner out. I won’t describe what my heels looked like by 10 pm. Gradual is genuinely the only way.
Quick tip: Choose your break-in days strategically. A day with a lot of walking, cobblestones, or time on your feet is not the right day to debut new shoes. Start with low-activity days close to home, when you can swap shoes if needed.
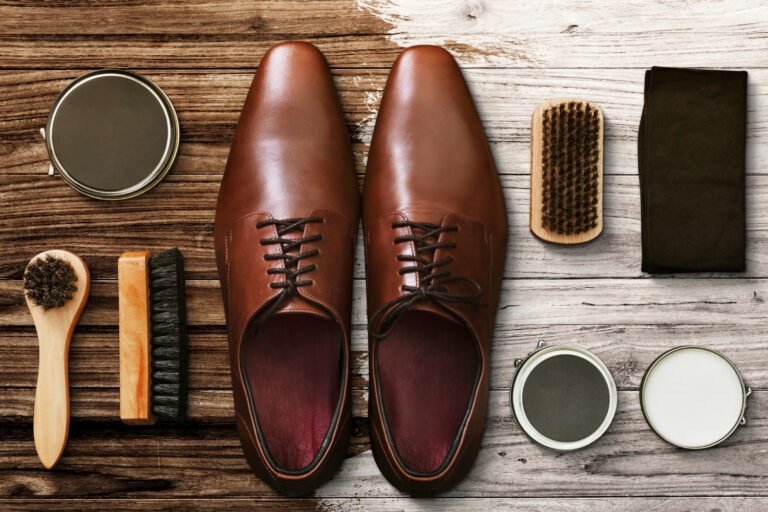
Step 6: Condition Leather Shoes Before and During the Process
If you’re breaking in leather shoes specifically, conditioning the leather before you start — and again partway through the break-in period — makes the whole process significantly easier. Soft, well-moisturised leather yields more readily to the shape of your foot than dry, stiff leather.
Apply a leather conditioner to the uppers before your first wear, paying extra attention to the heel and toe box where the fit is tightest.
You’ll notice the leather feels more supple almost immediately, and it will flex more naturally with each step.
Common Mistakes to Avoid
- Wearing new shoes for a full day on the first outing. Even comfortable shoes need time to adjust to your foot. A full day before any break-in period is almost guaranteed to cause blisters.
- Assuming tight shoes will “stretch out” on their own. Some give is normal, especially in leather. But shoes that are genuinely too small won’t become the right size no matter how long you wear them.
- Skipping blister protection because the shoes feel fine. They feel fine until they don’t. Apply protection anyway, every time, for the entire break-in period.
- Using a hairdryer on high heat. Medium heat, kept moving, is all you need. High heat can damage leather, melt adhesives, or warp synthetic materials permanently.
- Breaking in new heels on a long walk. Heels change your gait, shift your weight distribution, and put very specific pressure on the ball of your foot. Break them in on shorter, gentler outings before committing to anything ambitious.
How to Make Every Future Pair Easier to Break In
- Buy shoes in the afternoon. Feet swell naturally throughout the day and are at their largest in the afternoon. Shoes fitted in the morning may feel tighter by evening.
- Always wear the socks or tights you plan to pair them with when trying shoes on. The fit you test in the shop is the fit you’ll live with.
- Choose materials wisely. Leather and canvas break in far more comfortably than rigid synthetic materials. If you’re blister-prone, factor this in when buying.
- Condition new leather shoes before the first wear, every time. It takes two minutes and makes a noticeable difference to how quickly they soften.
- Don’t ignore fit issues in the shop. If something feels off when trying them on, it will feel worse after a mile of walking. A shoe that fits well needs breaking in; a shoe that fits badly needs returning.
FAQ
How long does it take to break in new shoes without getting blisters? It depends on the material and construction, but for most shoes, one to two weeks of gradual wear is enough to break them in comfortably. Stiff leather dress shoes and heels may take a little longer. Soft leather loafers or canvas shoes often feel comfortable within just a few sessions.
What’s the best product to prevent blisters when breaking in new shoes? A dedicated blister prevention balm (like Body Glide) is the most convenient option because it applies like a stick deodorant and doesn’t feel greasy. Petroleum jelly works just as well for a fraction of the price. For areas that are already sensitive, a hydrocolloid blister plaster applied before you get a blister offers both cushioning and friction protection.
Can I speed up breaking in new leather shoes? Yes — conditioning the leather before you start, using the thick socks method, and applying the hairdryer technique to tight spots all accelerate the process without damaging the shoe. What you can’t do is safely rush it by wearing them for a full day before they’re ready. The speed comes from preparation, not endurance.
Are there shoes that don’t need breaking in? Some do arrive genuinely wearable straight away — well-made soft leather loafers, flexible sneakers, and some sandals with minimal structure. But even comfortable-feeling new shoes benefit from a couple of shorter indoor sessions before a full day’s wear, just to let the sole flex and the material relax. When in doubt, start slowly regardless.
Final Thoughts
Breaking in new shoes the right way isn’t complicated — it’s mostly just about patience and a little preparation. Thick socks, blister balm, short sessions, and a couple of weeks of building up wear time is genuinely all it takes to go from stiff and unfamiliar to perfectly formed. Your feet will thank you, and so will the shoes. Save this article for the next time a beautiful new pair arrives at your door and temptation starts whispering that one full day won’t hurt.
Read also: