How to Remove Salt Stains From Boots in Winter
We’ve all walked through that slushy, salt-covered pavement and arrived home to find a tide mark creeping up our favourite boots.
If you’re trying to figure out how to remove salt stains from boots in winter, you’re in the right place — and the fix is simpler than you think.

Salt stains look alarming, especially on dark leather or suede, but they’re almost always reversible if you act quickly and use the right method.
This guide covers everything from the basic fix to material-specific tips so your boots come out looking like the salt never touched them.

The short version:
- Let the boots dry completely before treating — never work on wet, salt-stained leather.
- Mix equal parts cool water and white vinegar and apply gently with a soft cloth.
- Wipe the stained area in light circular motions until the tide mark lifts.
- Allow to air dry fully at room temperature, away from any heat source.
- Condition or brush (depending on material) once dry to restore the finish.
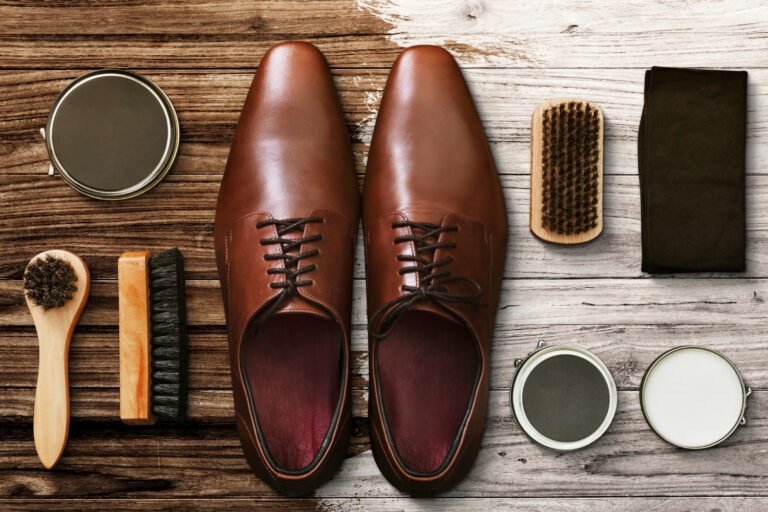
What You’ll Need
- White vinegar
- Cool water
- A small bowl or cup
- Soft lint-free cloths or clean old t-shirt fabric (at least two)
- An old toothbrush (for textured or heavily stained areas)
- Leather conditioner (for smooth leather boots)
- A suede brush (for suede or nubuck)
- Newspaper or white paper towels for stuffing
- A waterproofing spray (for prevention after cleaning)
Step-by-Step Instructions
Step 1: Let Your Boots Dry Out Completely First
Resist the urge to treat salt stains the moment you walk through the door while your boots are still damp. Wet leather is far more vulnerable to damage, and working a cloth into damp, salt-saturated material can push the salt deeper into the fibres instead of lifting it.
Remove your boots, stuff them with newspaper or white paper towels, and let them dry at room temperature for at least a few hours — overnight is even better.
This is the step most people skip, and it’s the one that makes everything else harder.

Quick tip: Always use white paper towels or plain newspaper when stuffing wet boots. Coloured tissue paper or printed inserts can transfer dye to light-coloured leather while it’s damp.
Step 2: Brush Away Any Surface Residue
Once the boots are fully dry, use a soft dry cloth or a soft-bristle brush to gently sweep away any loose, crusty salt residue sitting on the surface.
Don’t press hard — you’re just removing the top layer before the real treatment begins, not scrubbing the stain out.
On suede or nubuck, use a dedicated suede brush and work in one direction only to avoid disrupting the nap. This dry-brushing step means your vinegar solution isn’t fighting through a crust of salt — it goes straight to the stain.
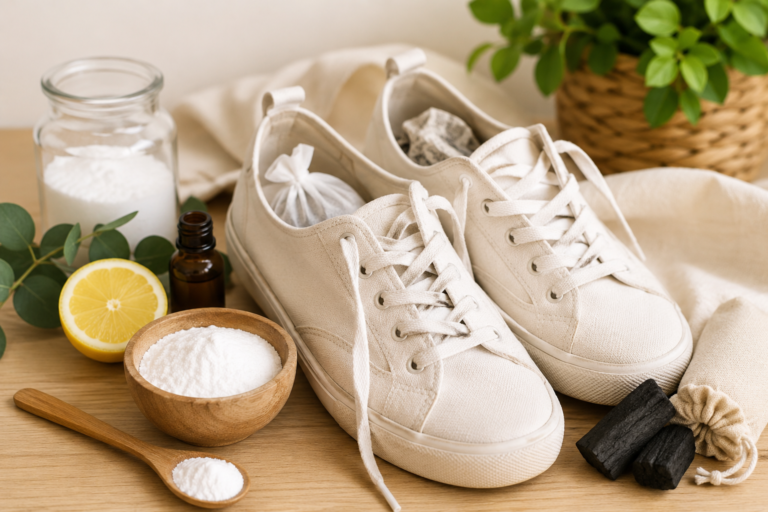
Read also: How to Clean White Sneakers at Home (Step-by-Step)
Step 3: Mix Your Vinegar Solution
Mix equal parts white vinegar and cool water in a small bowl — roughly two tablespoons of each is plenty for a single pair of boots. White vinegar is mildly acidic, which neutralises the alkaline salt and breaks the bond it’s formed with the leather or fabric.
It sounds like a chemistry experiment, but it genuinely works, and it won’t strip the colour or damage the material the way harsher cleaners can.
I was deeply sceptical the first time I tried this on a pair of black leather ankle boots. They came out perfect.
Quick tip: Always use cool or lukewarm water — never hot. Hot water can cause leather to contract and may set the stain further into the material rather than lifting it.
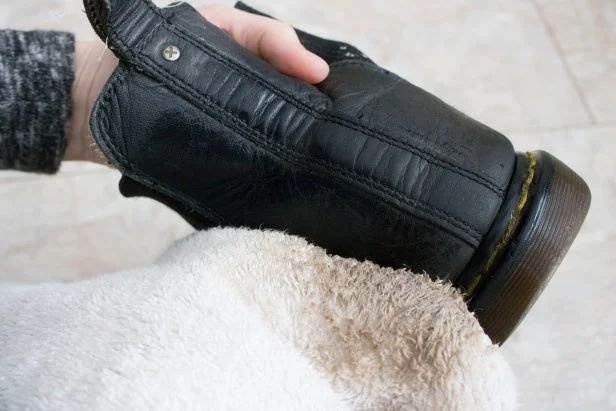
Step 4: How to Remove Salt Stains From Boots — Apply and Blot
Dip a clean soft cloth into the vinegar solution and wring it out so it’s damp, not dripping. Then gently work it over the salt stain in small circular motions, starting at the outer edge of the tide mark and working inward.
You should see the stain begin to lift and blend within a minute or two. Avoid saturating the leather — you want the cloth damp enough to work but not wet enough to soak in.
Swap to a clean section of cloth frequently so you’re not just redistributing the salt as you go.
Read also: 10 Things You Should Never Do to Your Leather Shoes
Step 5: Wipe Down and Air Dry Again
Once the stain has lifted, use a fresh damp cloth (water only, no vinegar) to do a final wipe over the treated area. This removes any vinegar residue that could leave its own faint mark if left to dry on the surface.
Then pat the boots gently with a dry cloth to absorb excess moisture, re-stuff with paper towels to maintain the shape, and leave them to air dry again at room temperature.
Do not shortcut this with a hair dryer or a spot near the radiator — the same heat rules from cleaning still apply here.
Quick tip: If the tide mark is still faintly visible after the first treatment, repeat the process once more after the boot has fully dried. Most stubborn stains respond well to a second round rather than extra pressure in the first.
Step 6: Condition or Restore the Finish
Salt is harsh on leather — even after you’ve removed the visible stain, the material may feel slightly dry or look a little dull where the salt sat. For smooth leather, apply a small amount of leather conditioner to the treated area using a soft cloth, working it in gently and buffing to a soft shine.
For suede or nubuck, use a suede brush to restore the nap with gentle strokes in one direction once the boot is fully dry. This last step is what takes the boot from “stain removed” to “looks like new.”
Common Mistakes to Avoid
- Treating the stain while the boot is still wet. This is the most common mistake and the one most likely to make things worse. Always let boots dry fully first.
- Using hot water in the cleaning solution. Hot water can set stains and cause leather to contract or crack. Always use cool or lukewarm water.
- Rubbing instead of blotting. Aggressive rubbing spreads the stain outward and can damage the surface of the leather. Use gentle circular motions and work inward.
- Skipping the conditioning step. Salt is dehydrating for leather. Removing the stain without conditioning afterwards leaves the leather vulnerable to cracking in the exact same spot.
- Using coloured cloths. Dye from non-white cloths can transfer to damp leather, especially lighter shades. Keep a couple of dedicated white cloths for shoe care.
How to Prevent Salt Stains Next Winter
- Waterproof before the season starts. A good water and salt-repellent spray applied in late autumn creates a barrier that makes future stains much easier to wipe away — or stops them forming at all. Reapply every few weeks during heavy use.
- Wipe your boots down every time you come in from the cold. A quick wipe with a barely damp cloth before the salt dries takes 20 seconds and means you’ll rarely face a full tide mark.
- Don’t leave salt on overnight. The longer salt sits on leather, the deeper it penetrates. Even a quick dry wipe is better than nothing if you’re too tired to do a full clean.
- Choose your winter boots with care. Heavily treated or waxed leathers are naturally more resistant to salt than untreated or fine leathers. Rubber-soled boots with a waterproof upper are the low-maintenance choice for truly brutal winters.
- Keep a small bottle of the vinegar solution ready. Mix it up at the start of winter and keep it on a shelf near your door. When the treatment is two seconds away, you’re far more likely to actually do it.
FAQ
How do I remove salt stains from boots in winter if they’ve been there for weeks? Old, set-in salt stains are harder but not impossible. Start with the same white vinegar and water solution, but let it sit on the stain for 2–3 minutes before gently working it in. You may need two or three treatment rounds. For very old stains on smooth leather, a dedicated salt stain remover product (available at most shoe care retailers) can help shift what the vinegar can’t.
Does the vinegar smell linger on the boots? Briefly, but it dissipates completely once the boots are dry. You won’t smell it when you’re wearing them. If it bothers you during the drying process, a light spritz of leather-safe spray deodoriser after conditioning takes care of it.
Can I use this method on suede boots? Yes, with adjustments. Apply the diluted vinegar solution very lightly with a cloth — suede is more absorbent than smooth leather, so you want less moisture. Don’t rub; blot gently. Once dry, restore the nap with a suede brush. For serious suede salt stains, a dedicated suede cleaner or eraser may give better results.
Will salt stains permanently damage my boots? Not if you treat them relatively promptly. Untreated salt left for weeks can dry out the leather to the point of cracking, especially along the tide mark line. But even moderately old stains usually respond well to the vinegar method with a little patience. The key is always the conditioning step afterwards to restore moisture to the leather.
Final Thoughts
Salt stains feel like a crisis in the moment, but they’re one of the more forgiving shoe care problems to solve. A little white vinegar, cool water, and a soft cloth is genuinely all it takes in most cases. The real trick is not panicking and not reaching for the nearest cleaning product from under the sink. Follow these steps, give your boots the conditioning they need afterwards, and they’ll come out of winter looking just as good as they went in. Bookmark this one — you’ll want it the first time that slushy pavement strikes again.
Read also: